
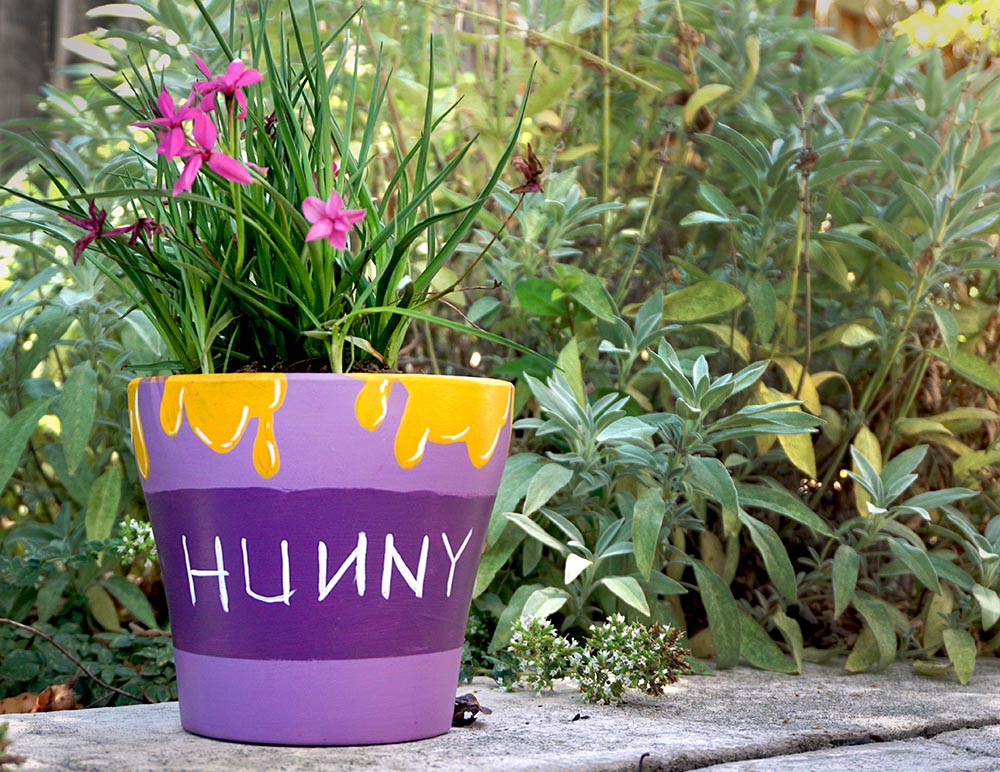
Why, hello there! This project is fun and easy for the whole family that is inspired by the laziest lump of fluff we all know and love: Winnie the Pooh. You’ll be creating your own honey–or “hunny”–pot filled to the brim with that sticky yellow goodness. Let’s see what you’ll need:
| Supplies List: | Tools List: |
|---|---|
| Terracotta Pot | Medium Sized Paint Brush |
| Purple Outdoor Paint | Liner Paint Brush or White Paint Pen |
| Saffron Yellow Outdoor Paint | Large Paint Brush |
| White Acrylic Paint | Disposable Cup |
| Rocks (for drainage- if the pot doesn’t have a hole at the bottom) | Painter’s Tape |

Instructions
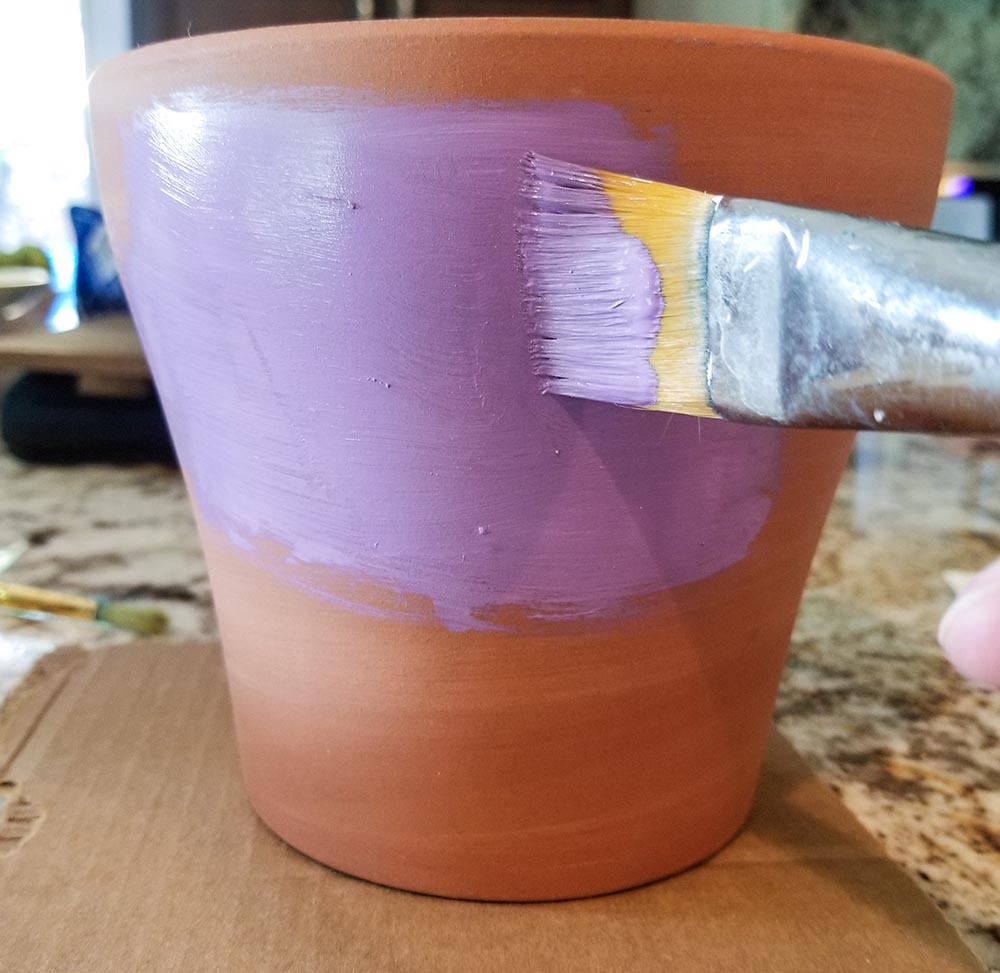
Place your Terracotta Pot onto a bit of cardboard or a paper bag.
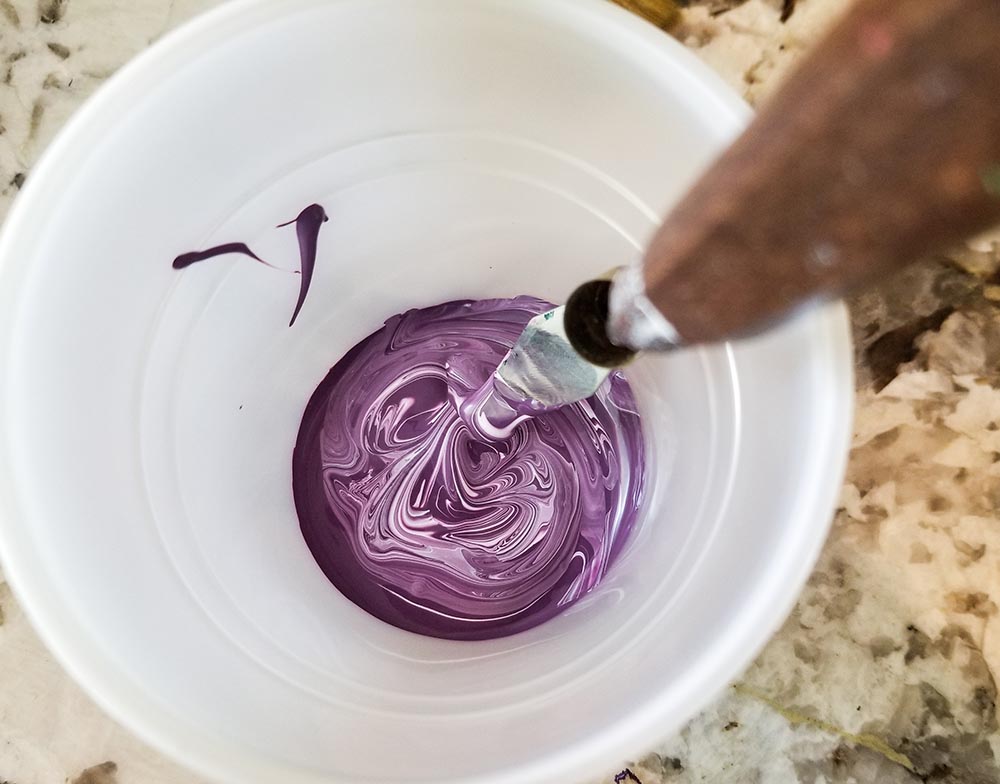
Mix together the White Paint with the Purple Outdoor Paint in a separate cup to create a lighter purple color.
Paint the entire outside of your pot excluding the bottom. Try to brush horizontally along the pot with the grain.
Let it dry and apply a second coat if you wish.

Once dry, Use some painter’s tape and place the top edge of the tape about 2 inches from the bottom of the pot. Try to make a straight line with that top edge of the tape all the way around the pot.
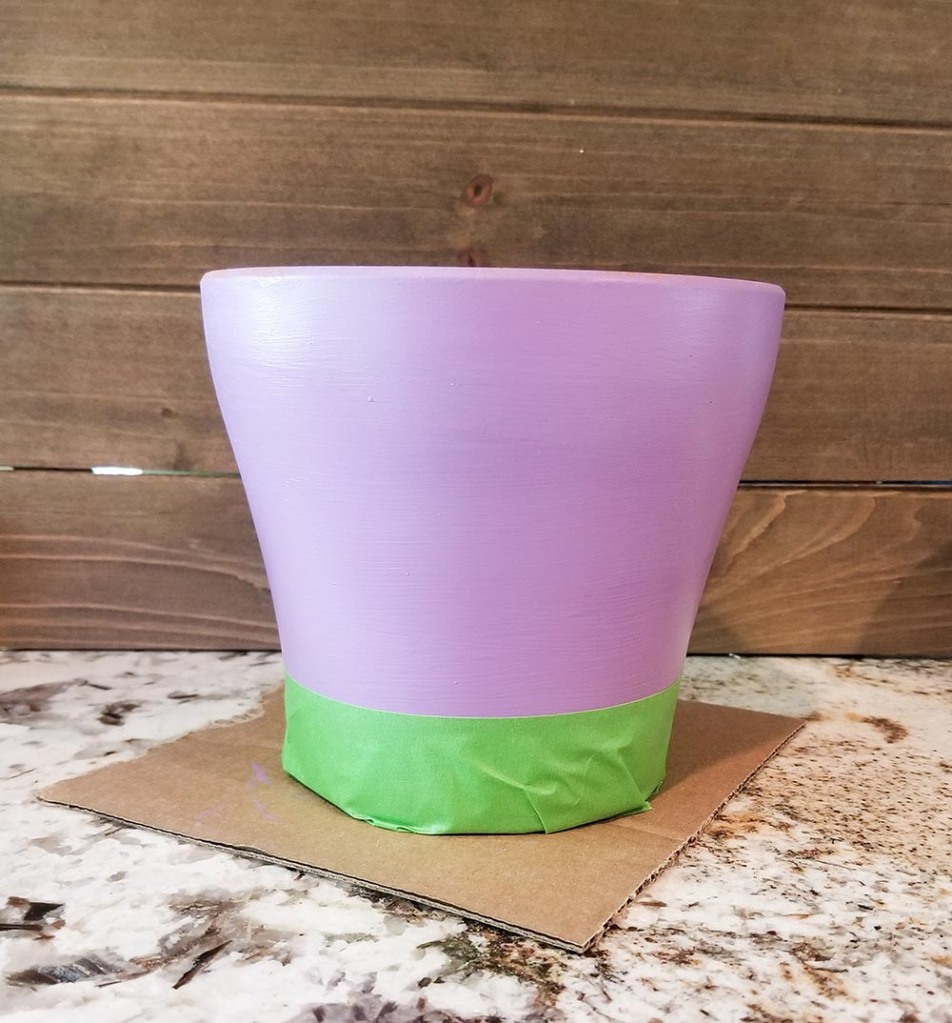
Use the purple outdoor paint (not the light one you mixed) and paint a big thick band around the pot.
You can use a large rubber band that fits snuggly to the pot to create a straight top line, but I just went for it.

Let it dry.
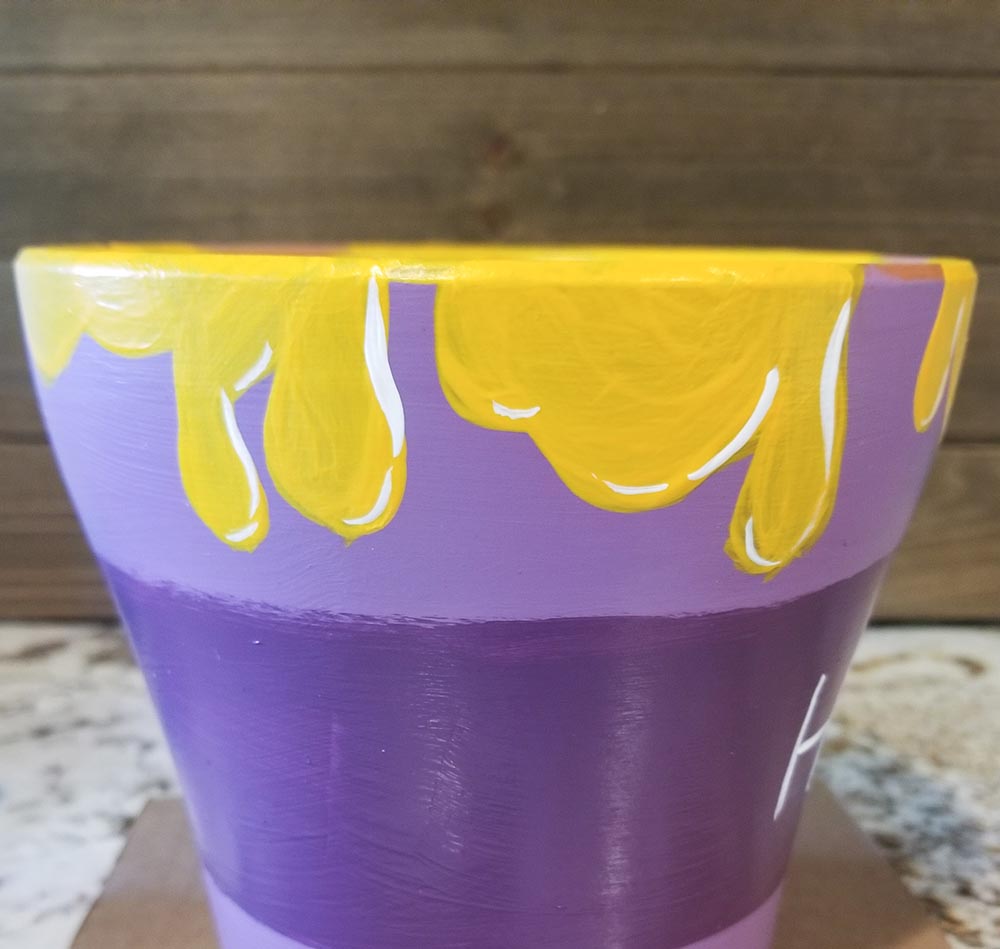
Grab your Saffron Yellow Outdoor Paint and start painting drips of honey on the top edge of your pot. You can draw little swoops and squiggles and fill them in with the paint. Paint them in different sizes and add long drips to make it more believable.
I wouldn’t recommend the brand of paint I used for the honey. It was very sheer and I had to layer it about 4 times.

Let it dry before adding more coats–if necessary. Also, paint the first couple inches inside the pot with the yellow as well.

Use a Liner brush (a brush that is thin and long) to write out the letters: ‘H’ ‘U’ ‘N’ ‘N’ ‘Y’ with the first ‘N’ written backwards in white paint.


Use that same brush to add little highlights to the dripping honey. Choose one side of the drips so it looks like light is coming from the same direction.

Lastly, if your pot doesn’t have a drainage hole, add some rocks to the bottom before planting!

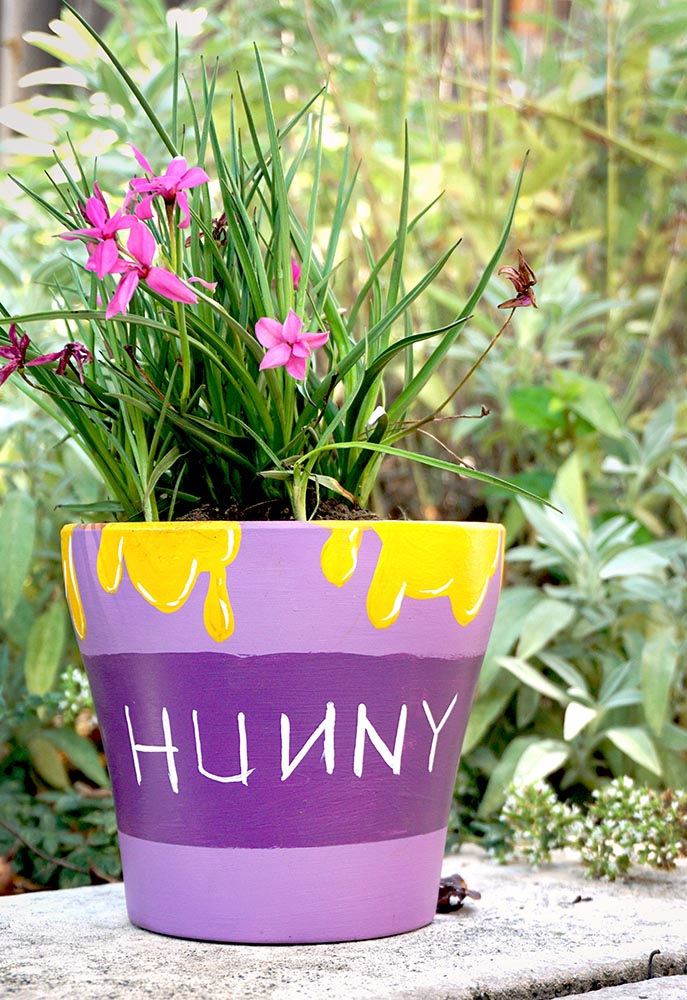
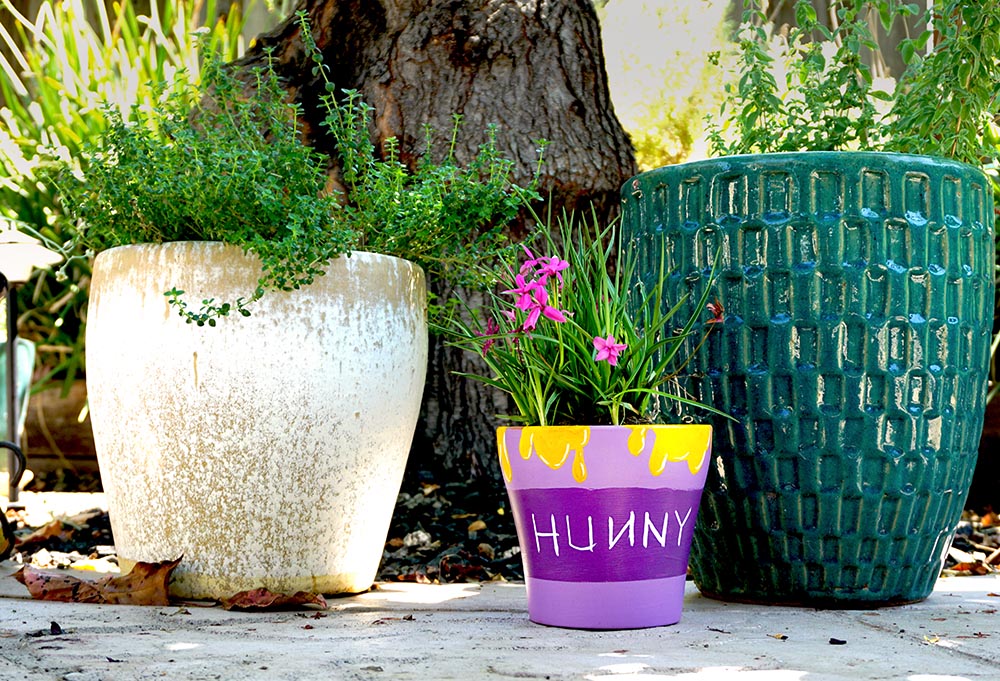
You Made It!
Wow, that was great, everyone! I hope you enjoyed this little craft. I’m sure yours is absolutely adorable! I think it’s perfect for any Disney lover’s garden. The plant I chose to put in my pot is called a Paula Rhodoxis. It has these pretty pink star-shaped flowers and the leaves almost look like cat nip.

Thanks to those who made it this far! Please follow us on Instagram and Pinterest for more projects like this and photos from the Disneyland Resort. We’d also really appreciate it if you’d share our DIYs with your Disney and crafting friends!
All images on this website were taken by and belong to Main Street D.I.Y. If you wish to share an image, please give credit where credit is due! Send the people our way!
